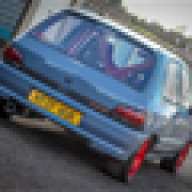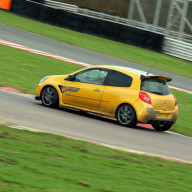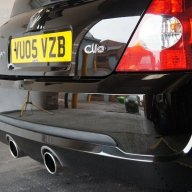
Some of you may have seen this posted on Clio16valver.co.uk. Thought i'd come along and let you guys have a read and a look her.
Unfortunately i lost alot of the early build pics due to a shitty Samsung hard disk failure, I managed to recover some from friend that i had sent stuff to.
So i bought the car August 2007, with the sole intention of hacking her to bits ! The timing belt was broken, so the purchase price was nice and cheap
 We towed her back from Northampton one evening and proceeded to strip the parts i either didn't want or need...... Grey leather, Full magnex and rear axle and konis were all up for dibs and by the time i'd finished selling, i'd nearly covered my purchasing costs.

Over the next few months the floor was cut out, and mucho fabrication performed to mount a Corrado VR6 front subframe and front Weitec coilovers , Mk2 Golf 16v wishbones / anti roll bar / and hubs. Again sorry about the lack of pics

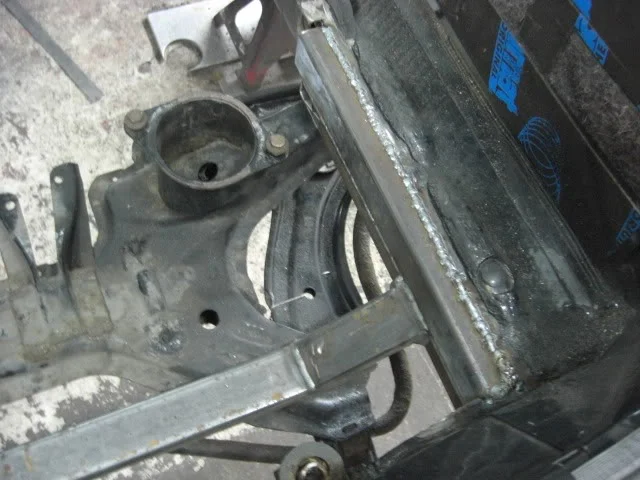
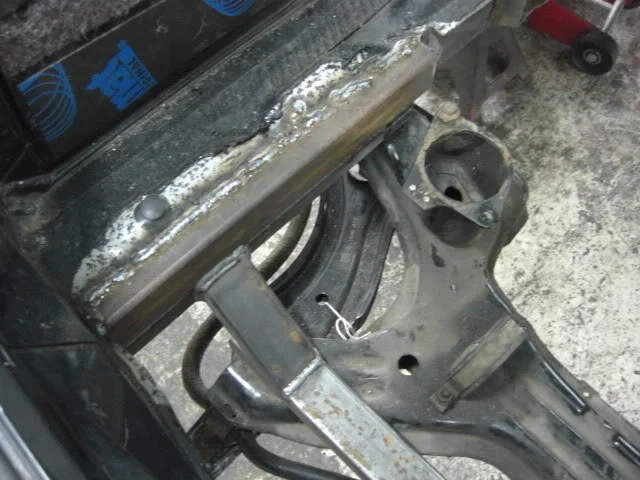
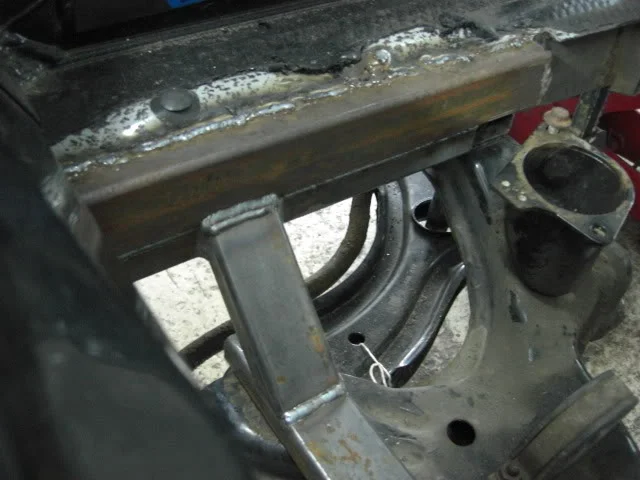
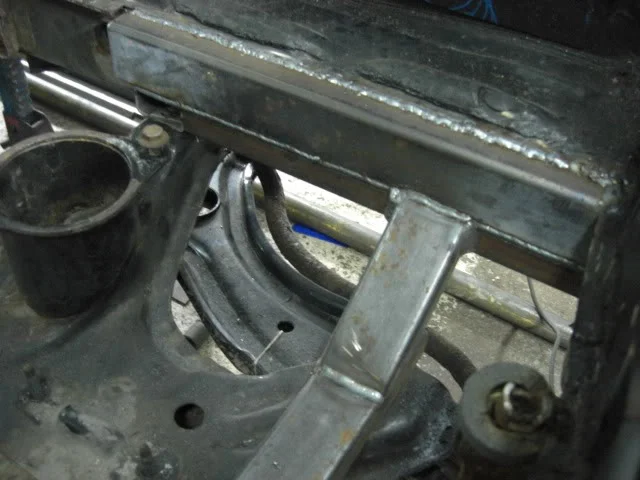
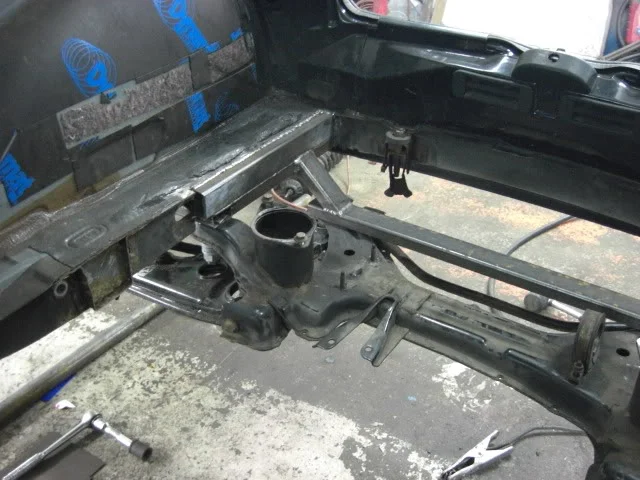
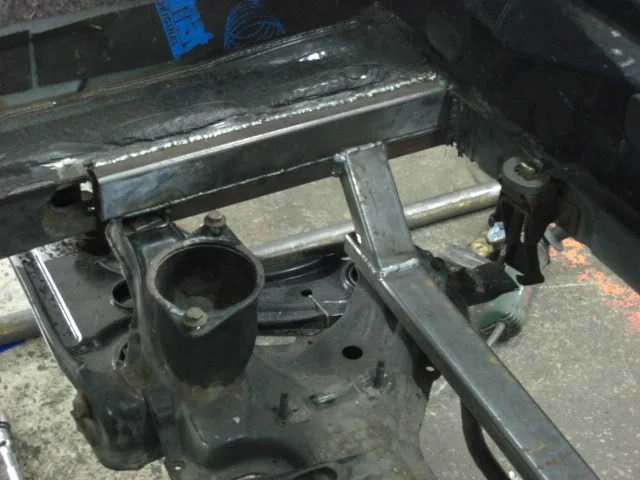
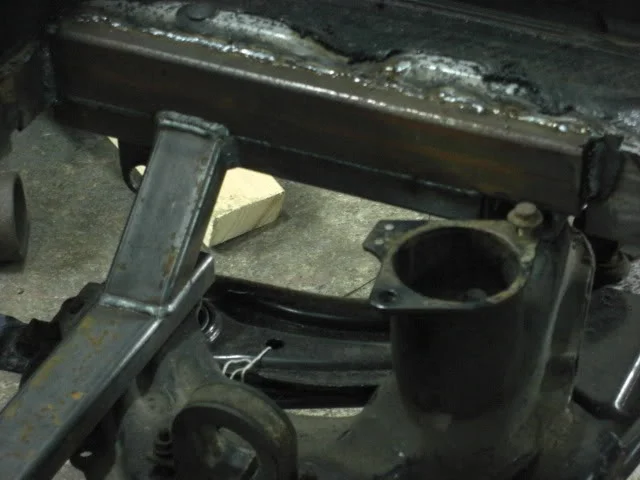
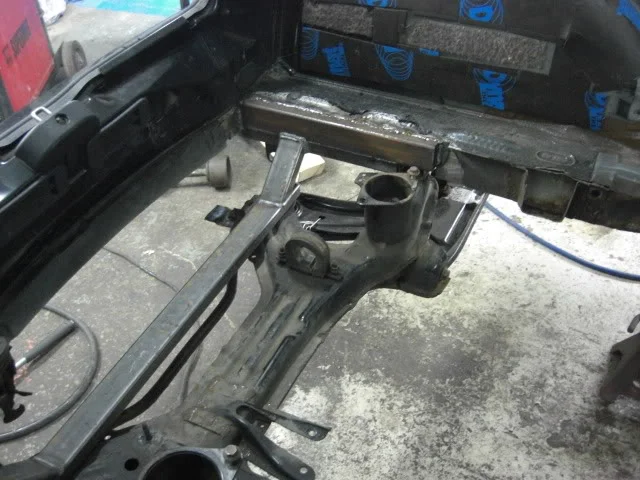
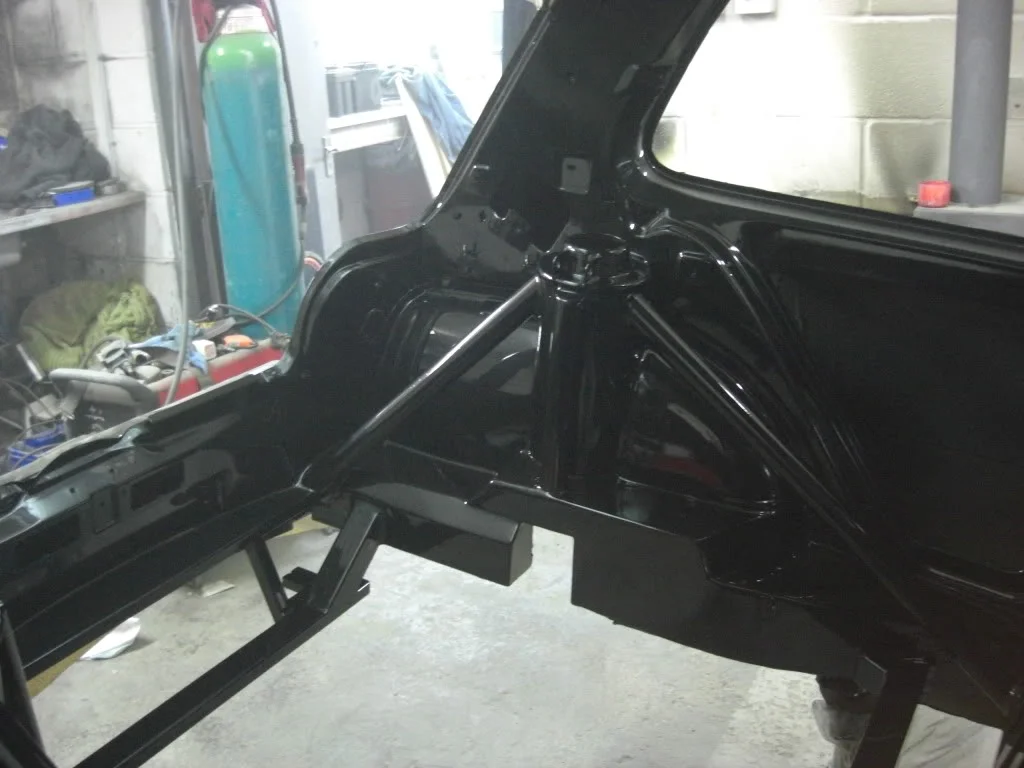
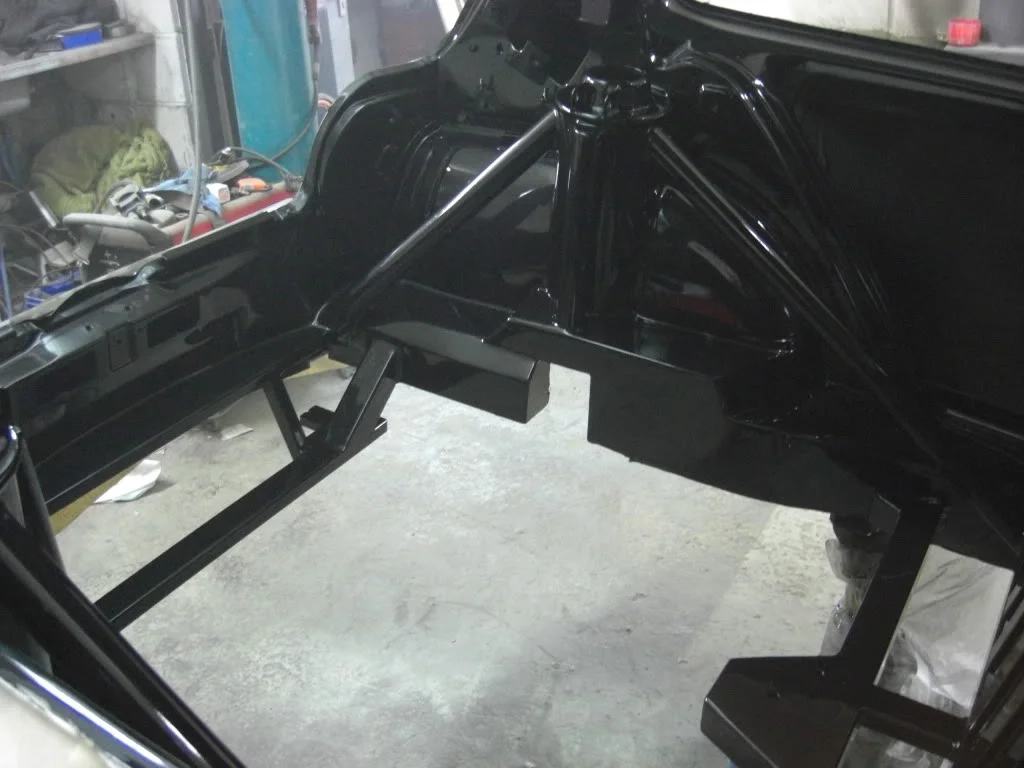
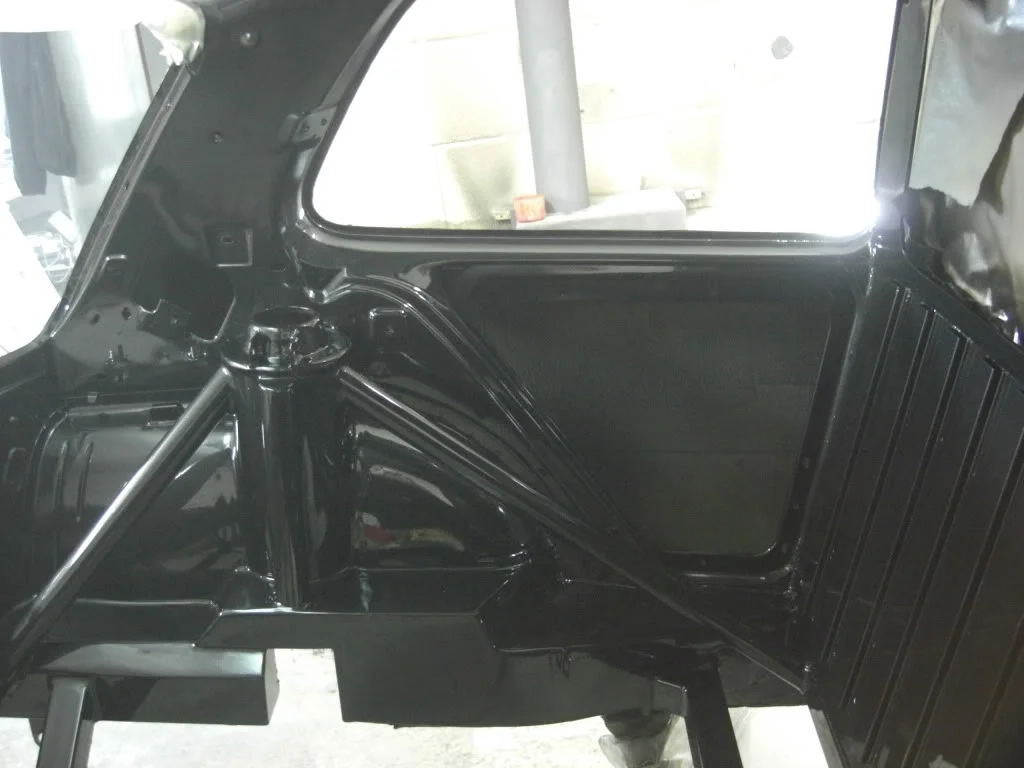
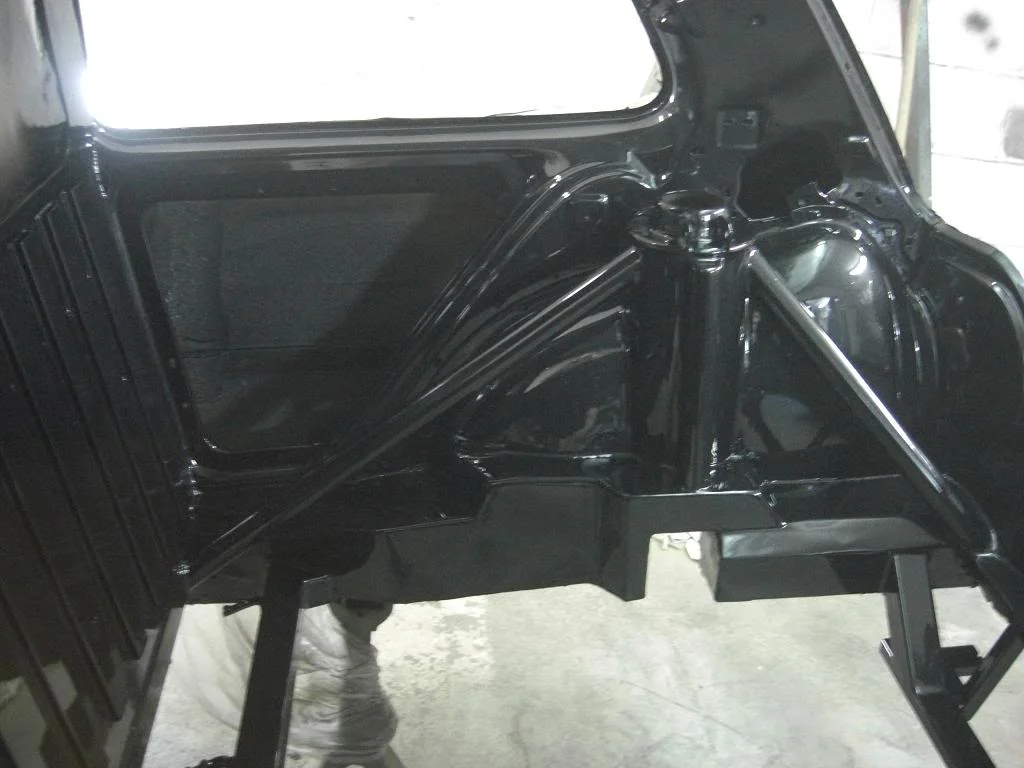
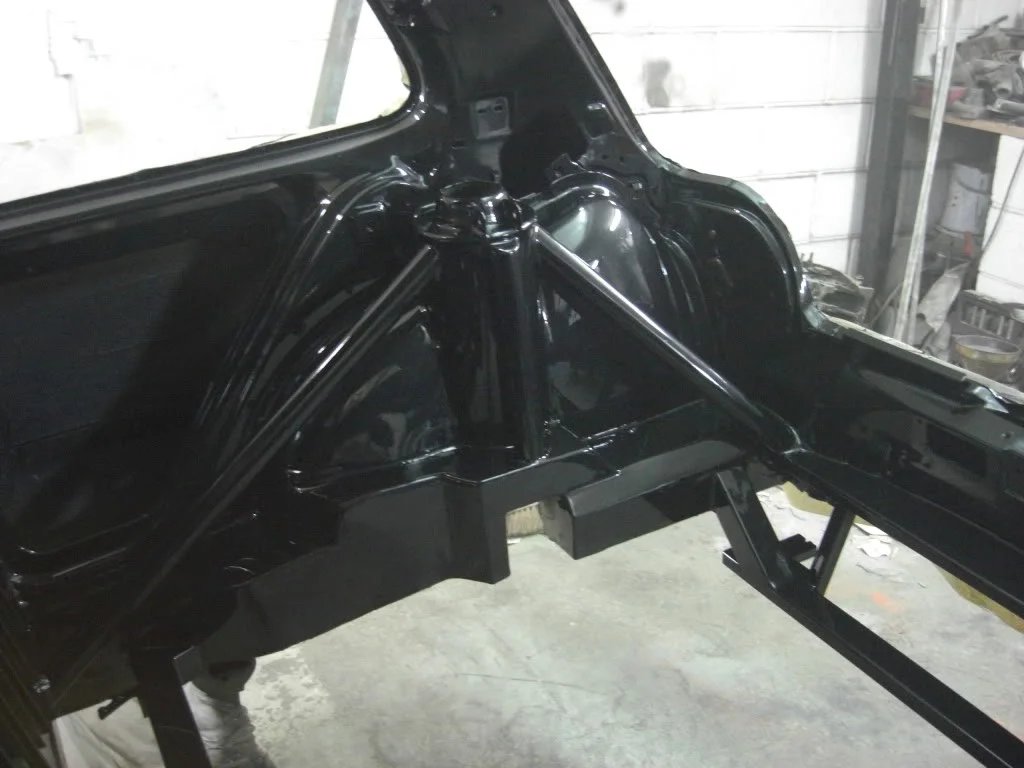
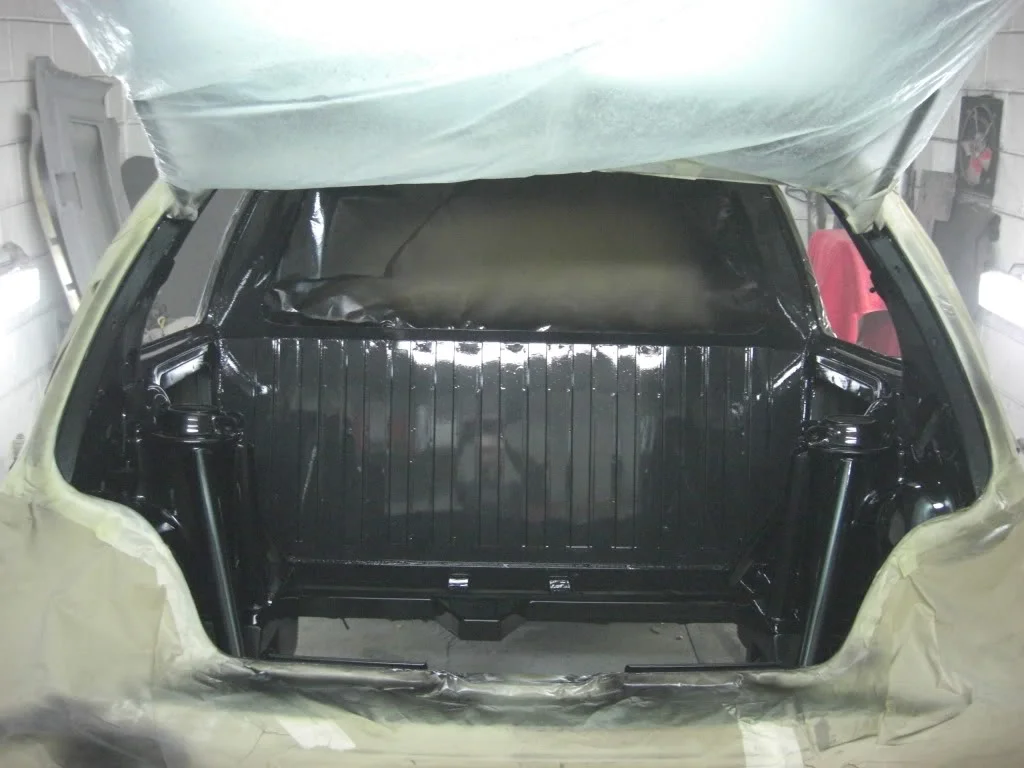
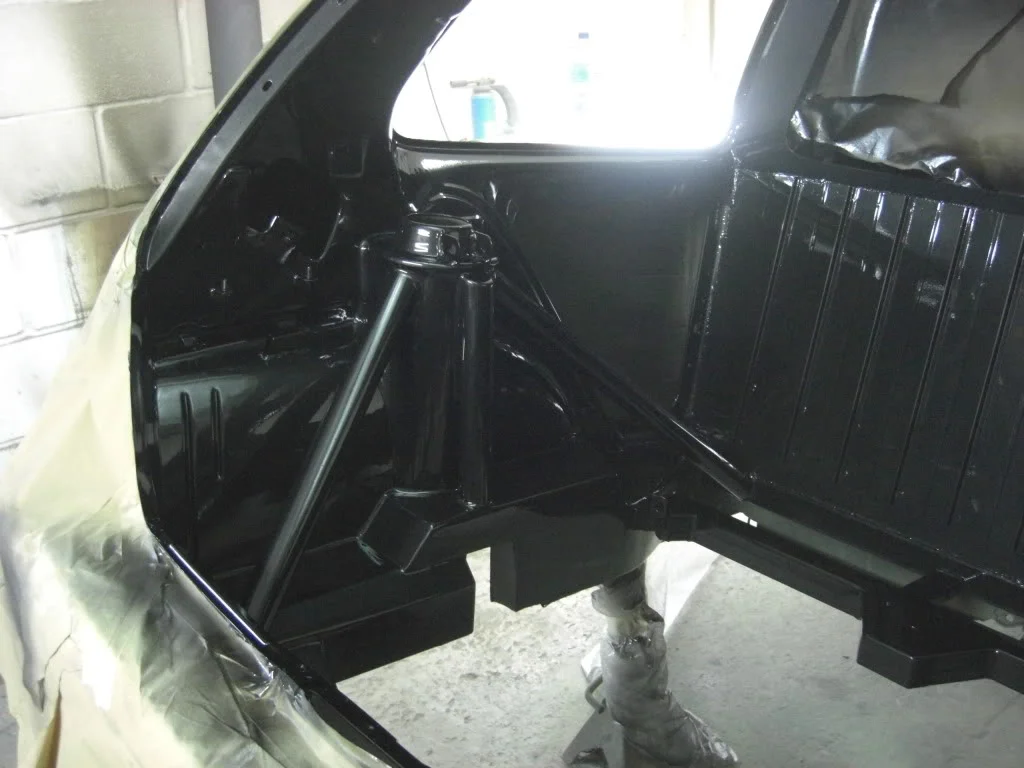
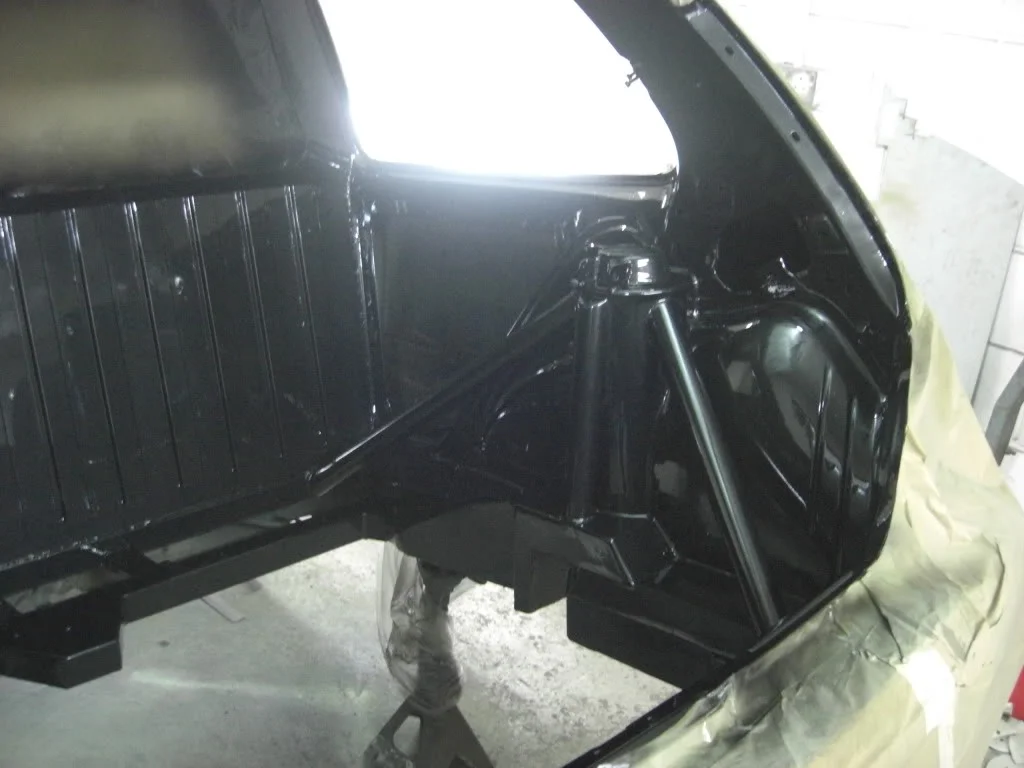
Gradually it began to take shape and after several engine fitting tests, i decided the offside rear chassis rail needed to move to allow clearance for the VR6 Crankshaft pulley. The removed metal was replaced inside the offside rear arch / chassis rail. A firewall was built and provision made for a rear window.
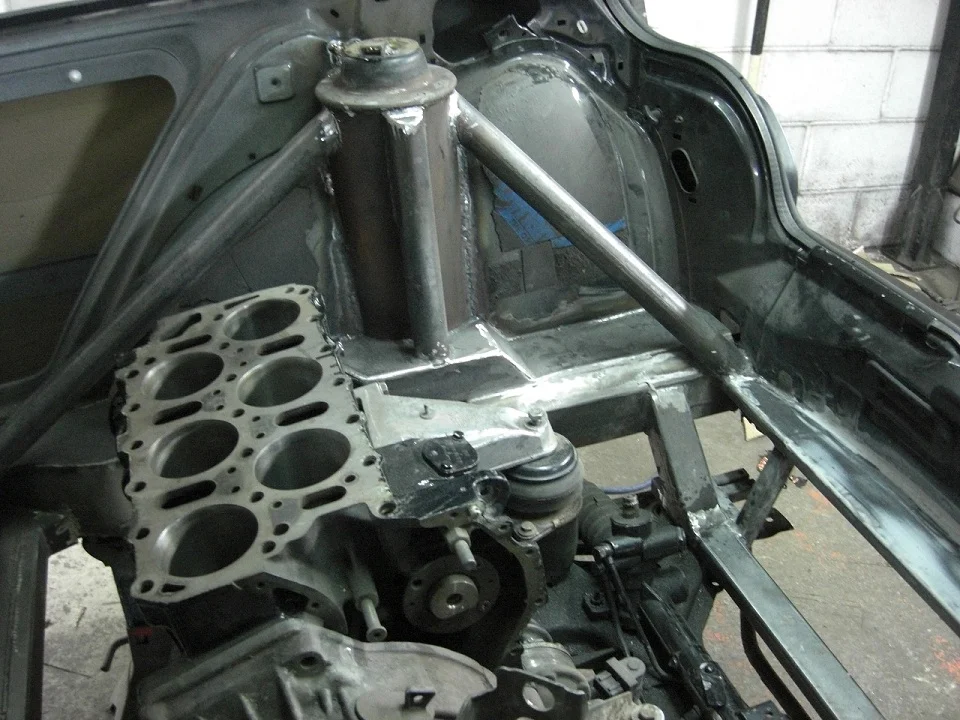
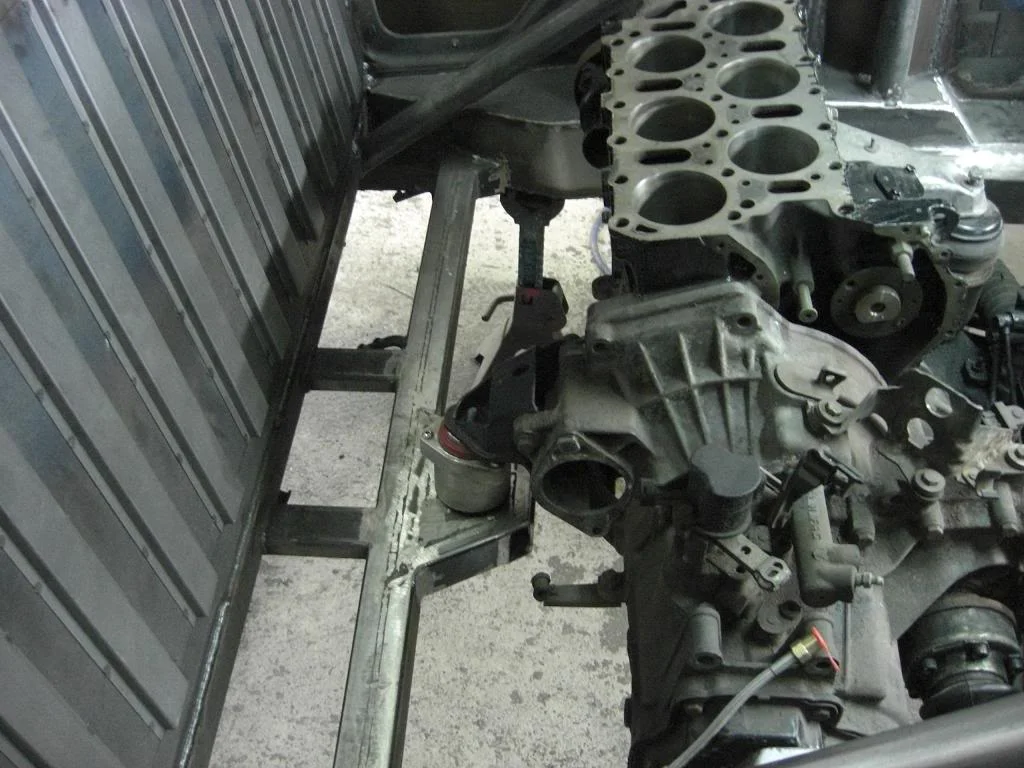
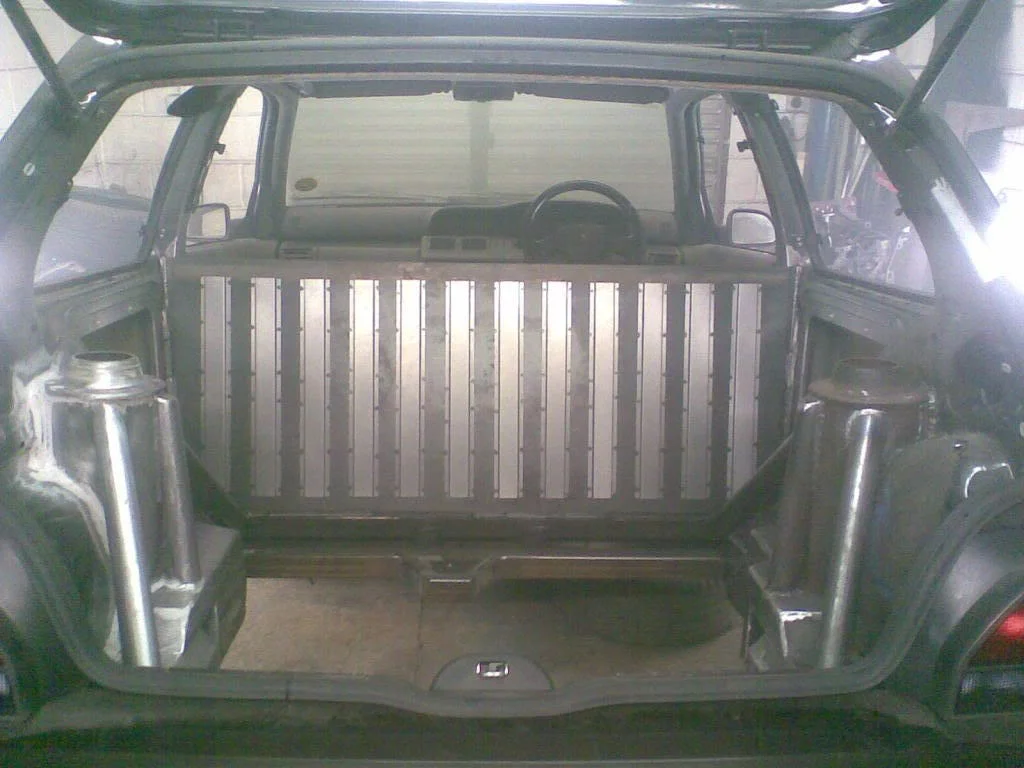
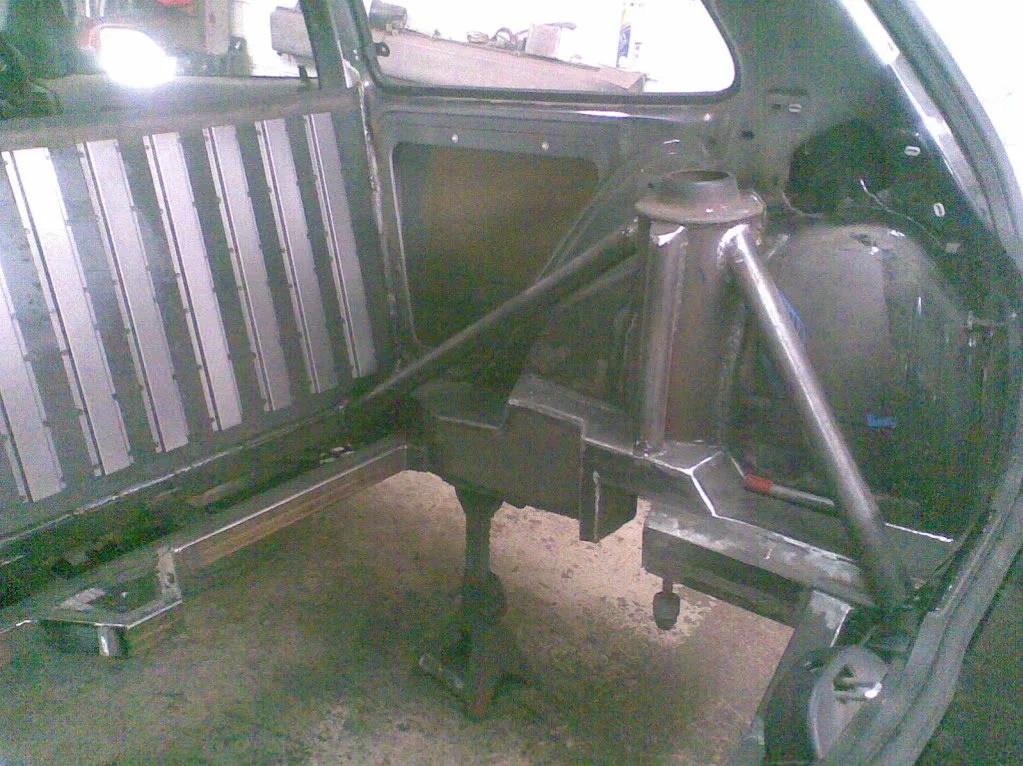
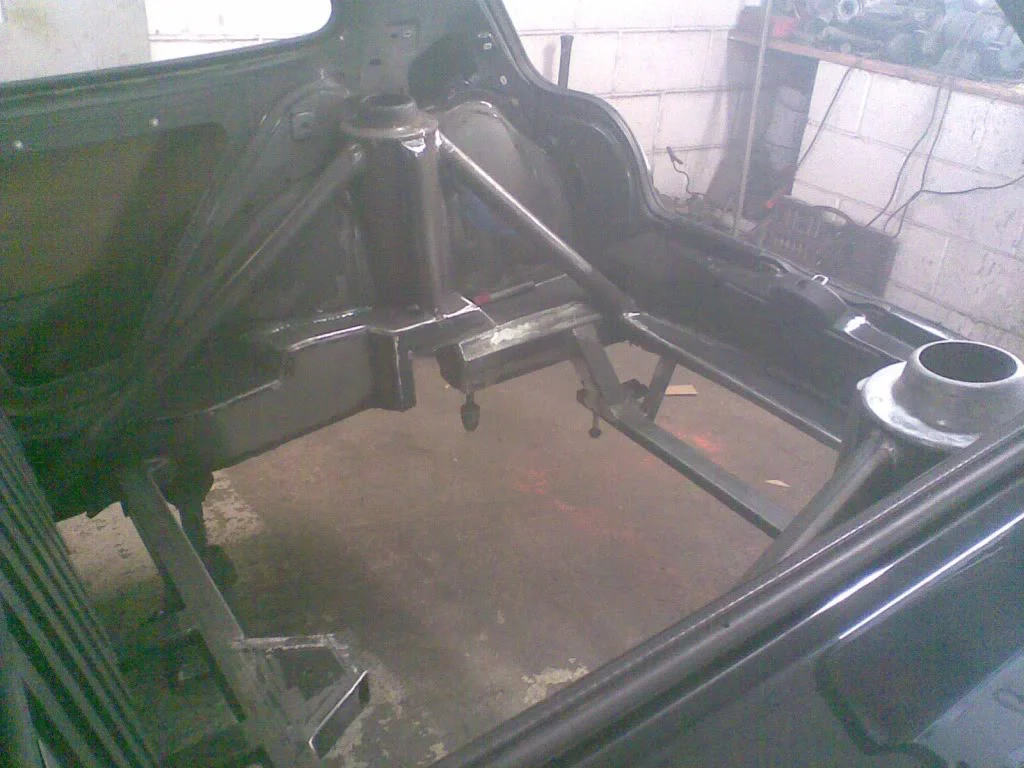
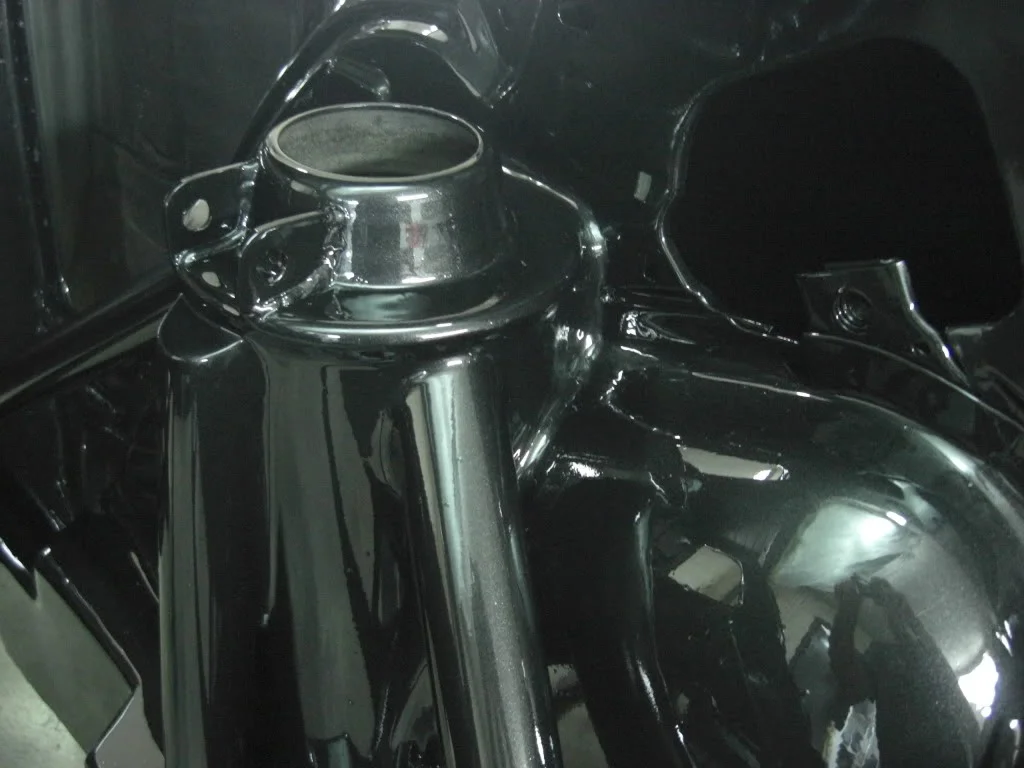
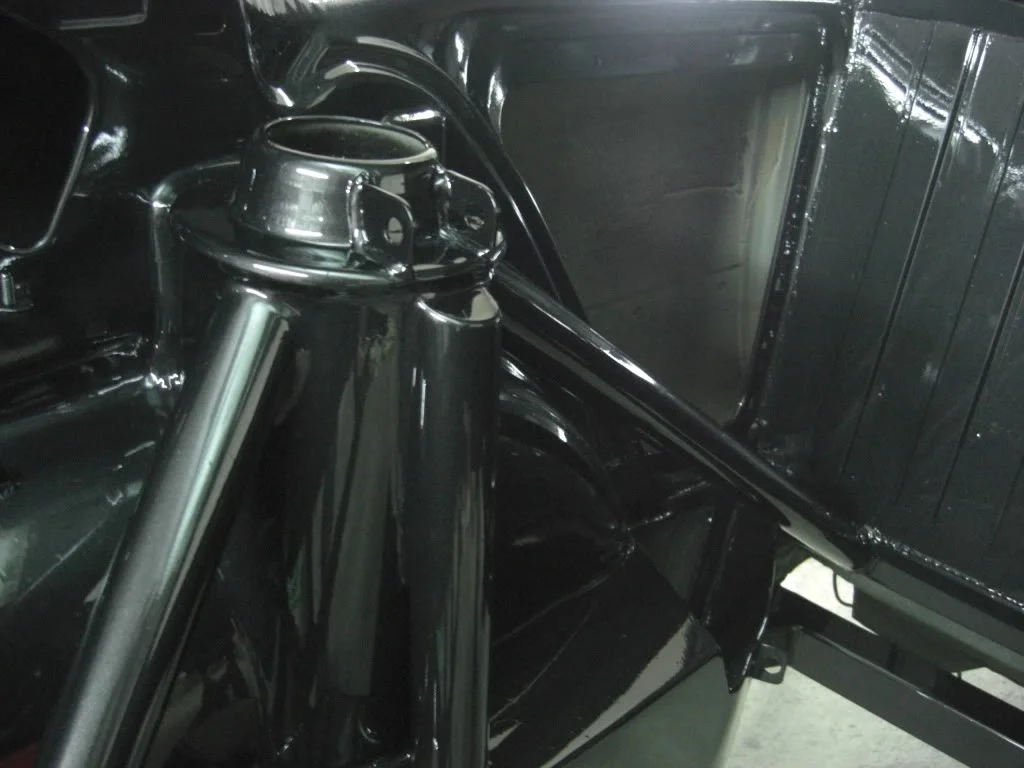
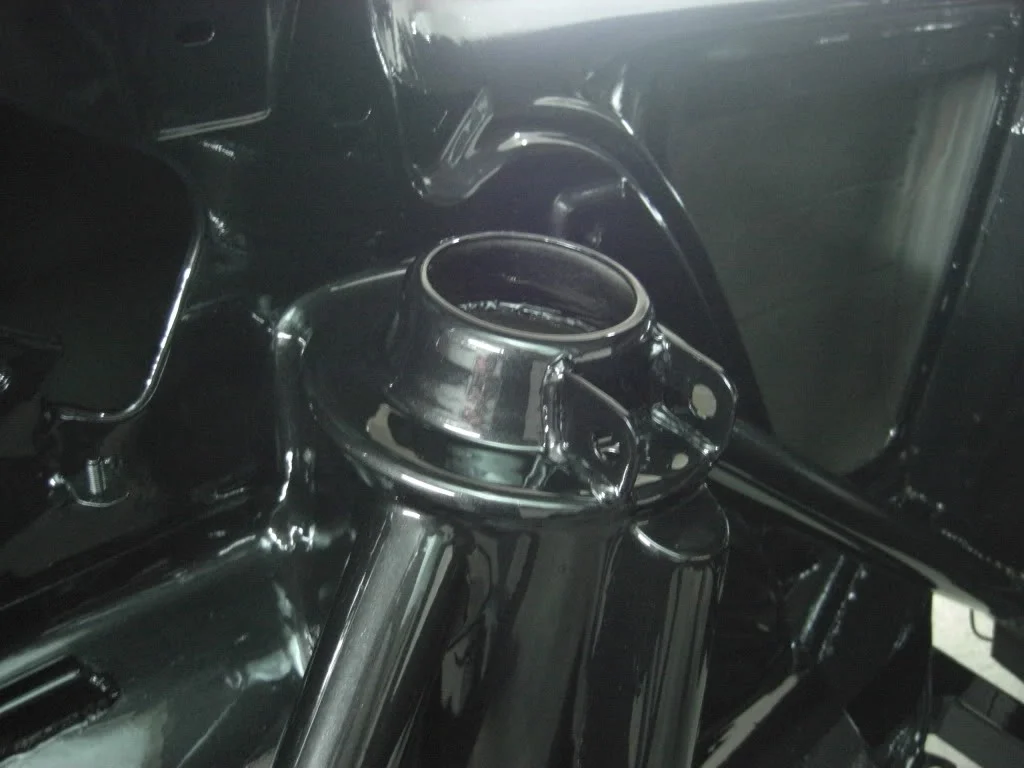
Eventually the time came to paint the rear engine bay
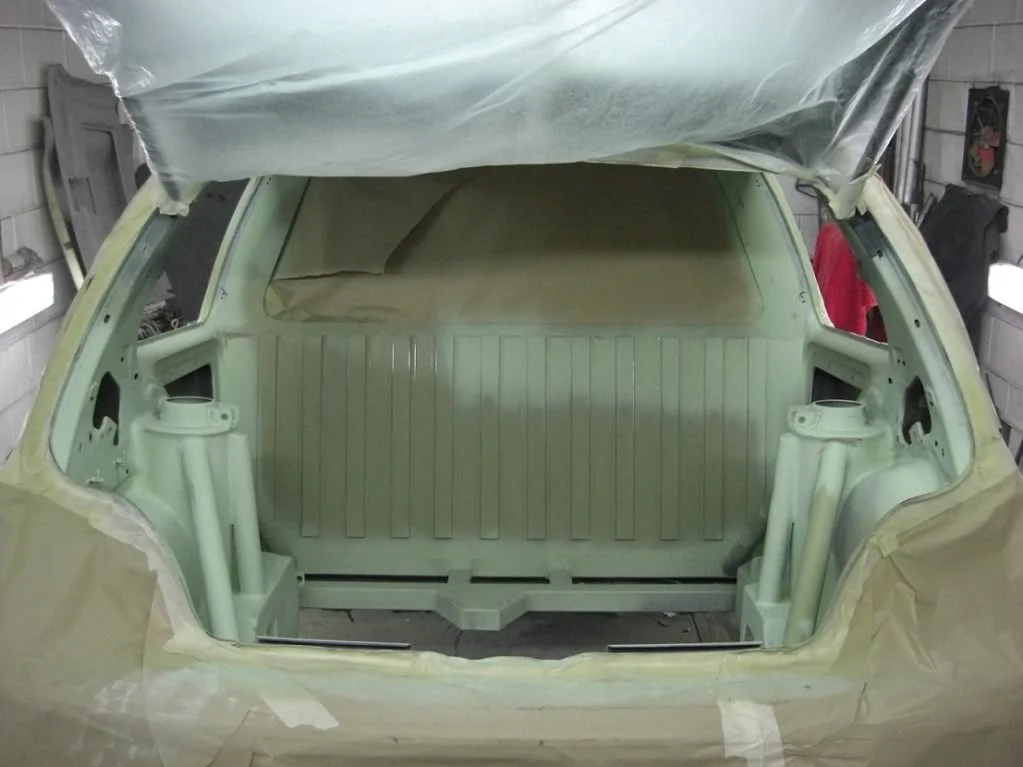
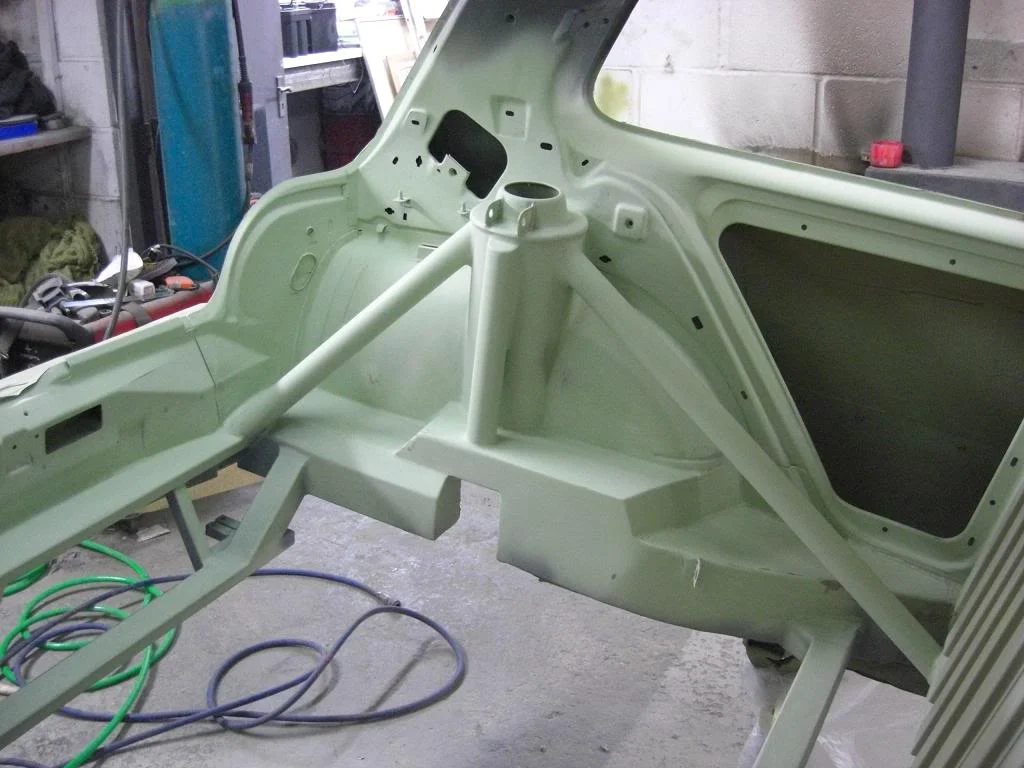
Unfortunately i lost alot of the early build pics due to a shitty Samsung hard disk failure, I managed to recover some from friend that i had sent stuff to.
So i bought the car August 2007, with the sole intention of hacking her to bits ! The timing belt was broken, so the purchase price was nice and cheap
Over the next few months the floor was cut out, and mucho fabrication performed to mount a Corrado VR6 front subframe and front Weitec coilovers , Mk2 Golf 16v wishbones / anti roll bar / and hubs. Again sorry about the lack of pics
Gradually it began to take shape and after several engine fitting tests, i decided the offside rear chassis rail needed to move to allow clearance for the VR6 Crankshaft pulley. The removed metal was replaced inside the offside rear arch / chassis rail. A firewall was built and provision made for a rear window.
Eventually the time came to paint the rear engine bay